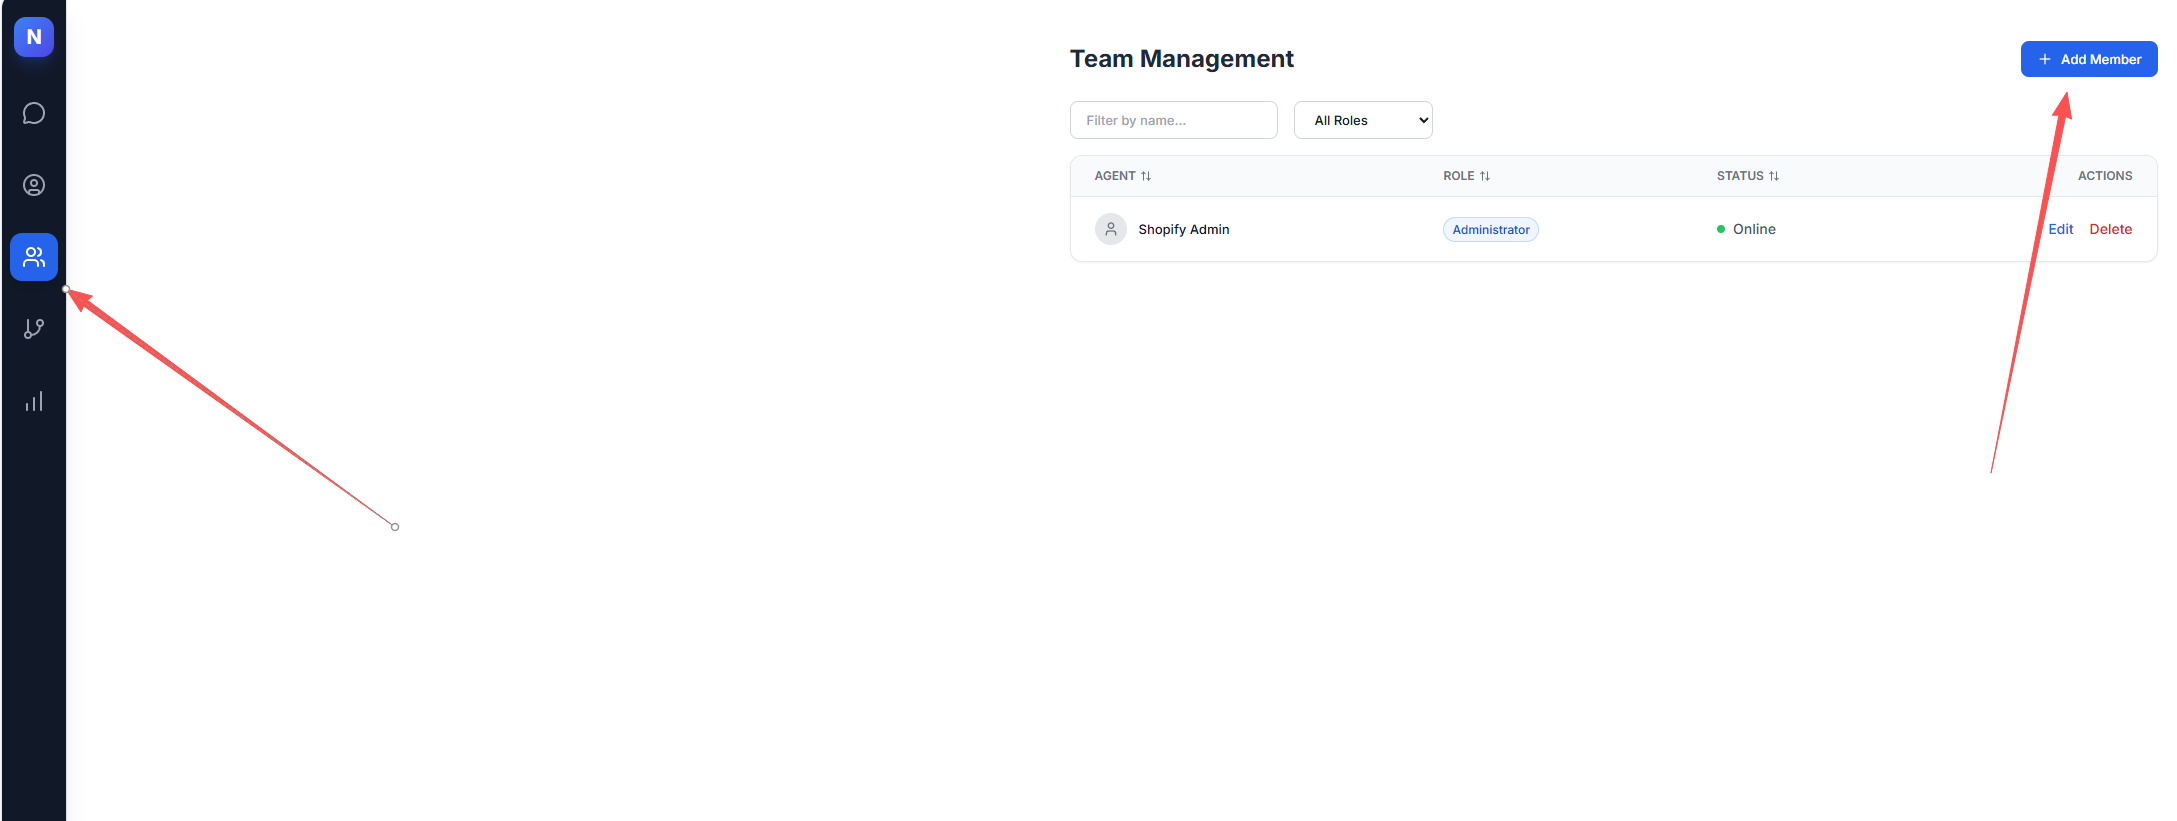
Team Management
Team Collaboration Features
The Team feature allows you to manage multiple members to provide efficient customer support and collaborate seamlessly on user sessions.
1. Managing Team Members
You can create and manage your support team through the administration interface:
- Access: Click on "Team Management" in the left navigation sidebar.
- Action: From the Team interface, you can add new team members to your organization.
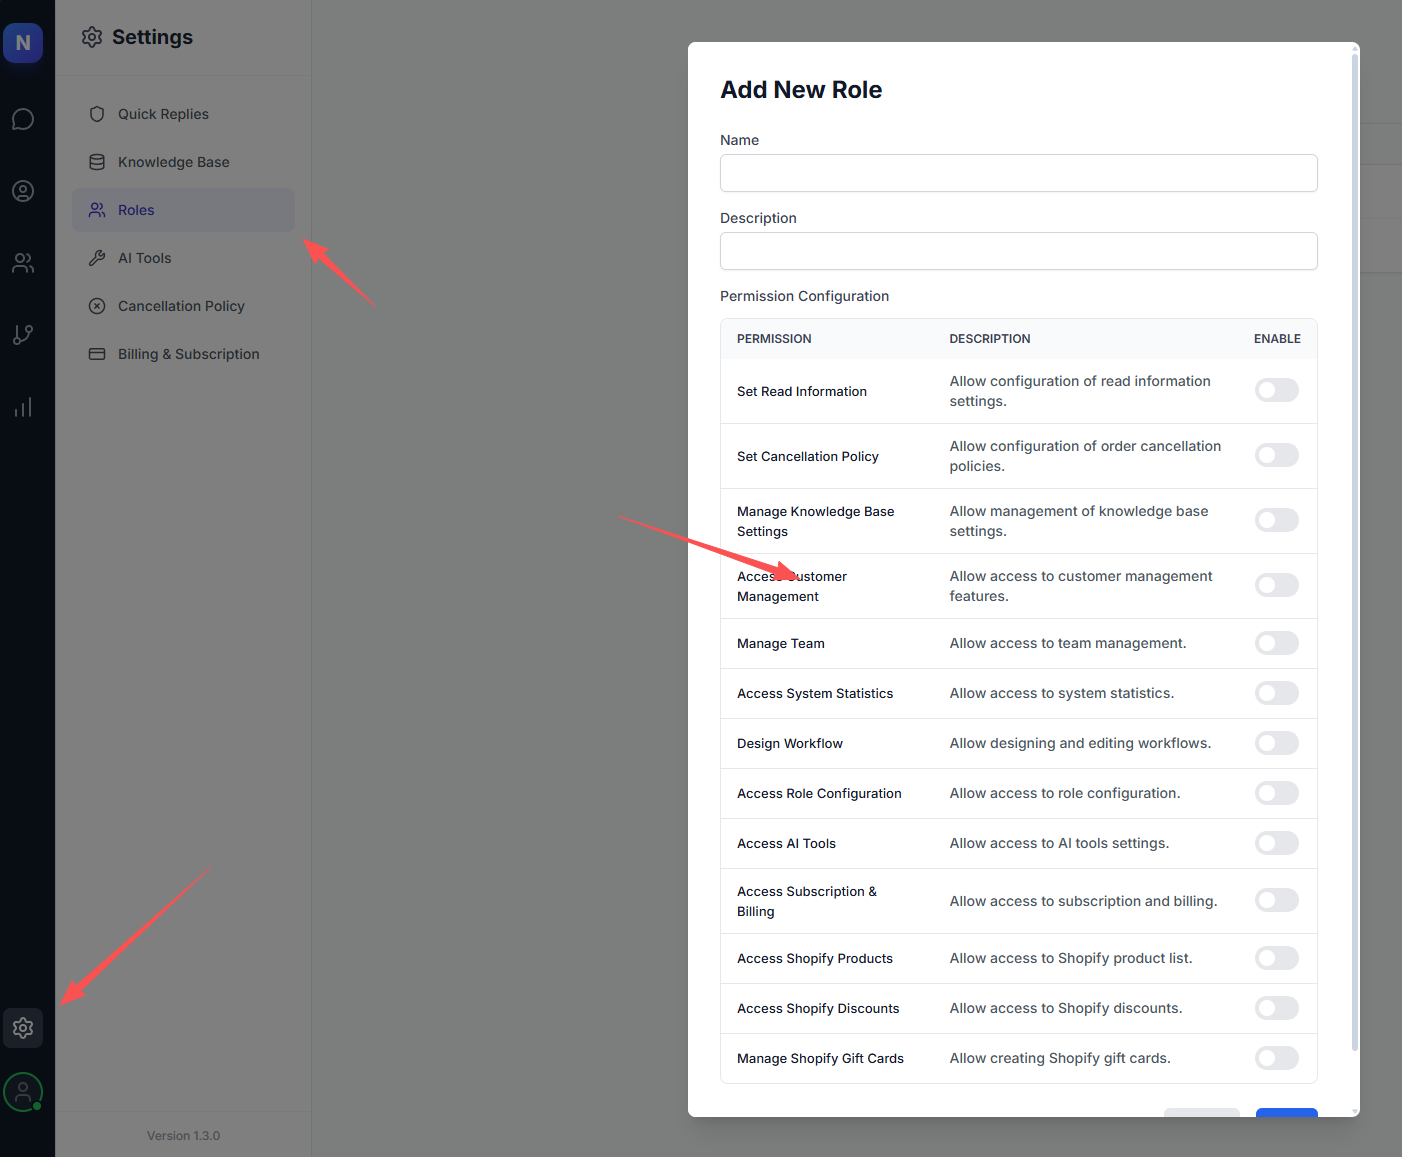
2. Roles and Permissions
The system uses a role-based access control (RBAC) model to manage permissions:
- Default Administrator: The system comes with a built-in "Administrator" role. This role has the highest level of permissions and cannot be modified or deleted.
- Custom Roles: If you need to assign personalized permissions to new members, you can create new roles under "System Settings".
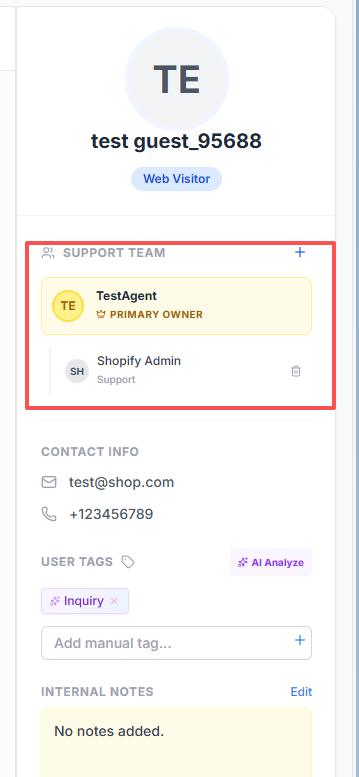
3. Session Assignment
To ensure prompt responses to customer inquiries:
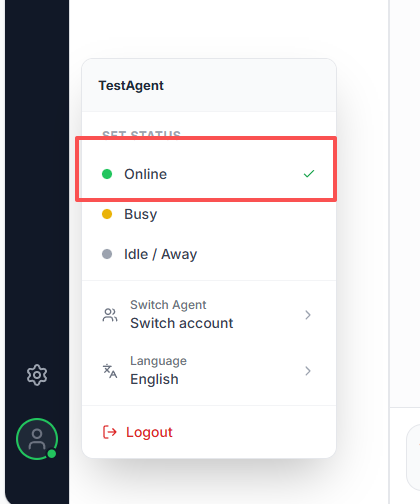
- Automatic Routing: When a new session is created, the system automatically looks for an online team member to assign the conversation.
- Availability: Please ensure your status is set to Online to receive new assignment notifications.
4. Collaboration within Sessions
Team members can work together on the same conversation:
- Add Support Personnel: You can invite other team members into a session. Once added, they will also receive updates for that conversation.
- Internal Mentions & Private Notes: You can @mention other members within the chat. By sending a Private Message, you can communicate internally; these messages are invisible to the customer.

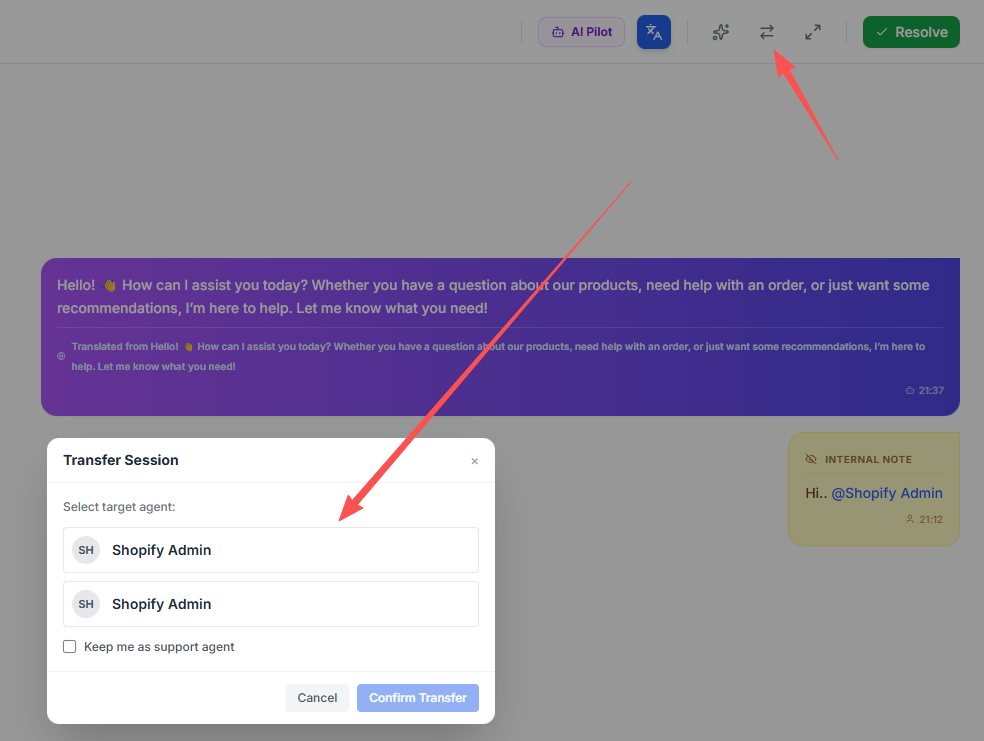
5. Transferring Responsibility
If a session needs to be handled by a different specialist:
- Change Owner: The primary agent assigned to a conversation can switch the responsibility to another colleague.
- Action: Click the "Switch Agent" button at the top of the chat window and select the target team member.